Canopy for a Pergola
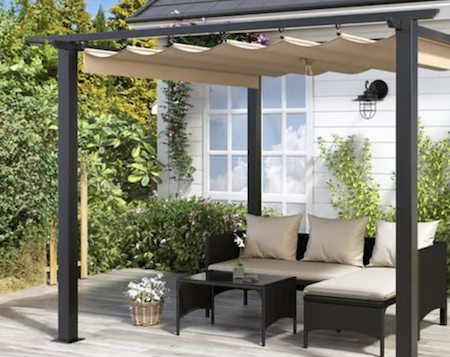
Can I make an attractive pergola canopy as shelter from sun and showers?
Question 1:
Hello, neat site you got there and very helpful!
I’m trying to create a pergola for my balcony. It will mostly be used as a roof/shelter from the sun and rain but I want the roof to be detachable, so I can have it and not when I desire. I guess in order for this to happen, the roof should be created by some kind of cloth that would be able to roll in a coil or something and hide away or roll out and be as a roof.
Can u please help me on this? I have no plans, nor do I have the knowledge to build it! I’ll need some help on this.
Question 2:
My husband and I are buying a house with a pergola type deck. We are thinking a retracting canvas roof/sides would be awesome. Do you have any plans or know of some we could use for the roof?
Question 3:
I am trying to build a pergola with retractable canopy but have problems sourcing a track runner system. Can you help?
The existing kits don't quite fit the space so I am trying to have it built fitting our measurements. Thank you.
Ideas for Canopies
There are three ways to approach this, easiest first:
- Buy a ready-made canopy pergola kit in wood or metal.
- Buy ready-made retractable canopy sections.
- Use shade sails effectively as a statement feature.
- Make a DIY canopy for a pergola using retractable shades.
Canopy Pergola Kits
There have been some excellent canopy pergola kits coming onto the market recently, so if you'd like all the tricky bits done for you and your space allows, it might be worth considering a pergola kit as an alternative to building your own canopy for a pergola.
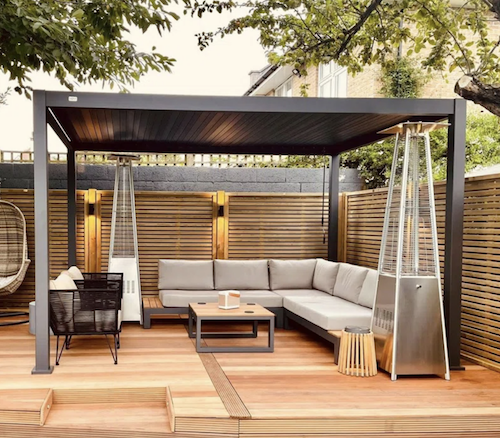
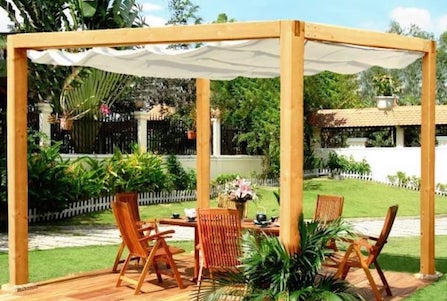
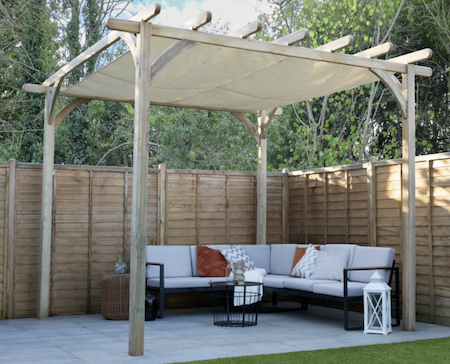
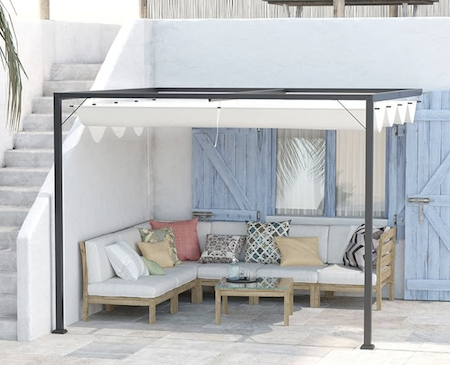
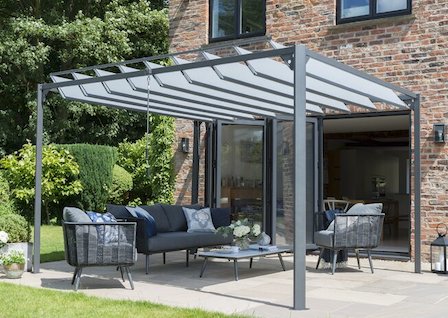
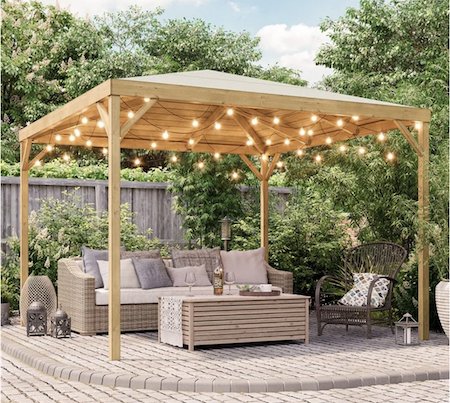
Pergola kits with canopies are available in both wood and metal. Both come in free-standing and attached lean-to designs.
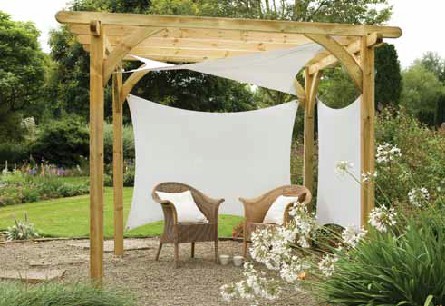
As you can see, they create a wonderful place to relax and entertain.
A canopy for a pergola can extend its usability, with protection against sun and light showers.
This canopy is fully waterproof.
This tilting roof is showerproof, which adds a bit of extra functionality. It looks good, too.
These are just some examples. There are lots here to choose from.
There are many more pergola kits using fabric now, as a canopy for a pergola, some with a very modern feel. We're spoilt!
Ready-Made Canopy Shades
These are hot off the press, so to speak, and finally I can answer the second most asked question on my website, namely, "Can I Buy a ready-made retractable canopy for my existing pergola?" The answer is now a resounding "Yes!"
And they come a good range of colours and sizes. Just find one to fit your needs.
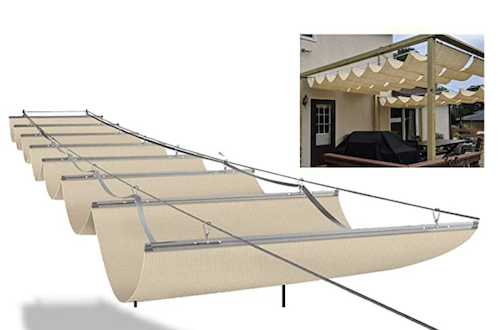
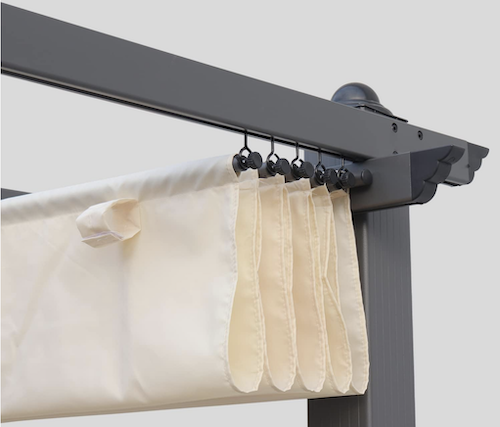
Here is the detail of the mechanism, but there are other images showing how the shades work. This might be the ideal solution if you have an existing pergola.
This is a replacement retractable canopy which can be used for your own existing pergola, but it does come in 3m x 4m size. However, it shows clearly how the canopy needs to be attached using the hanging wheeled hooks.
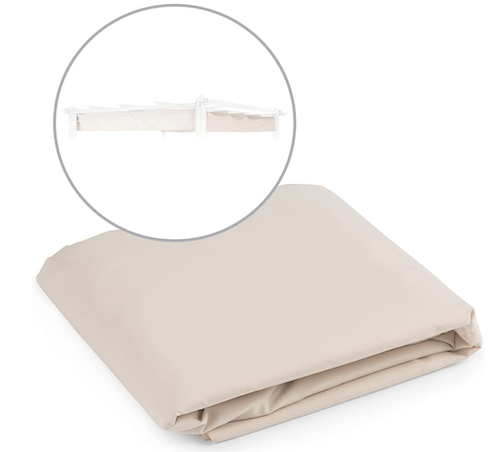
The material for the canopy can be bought separately. This Blumfeldt canopy is 3m x 3m.
DIY Retractable Pergola Canopy
What we'll need to do first is source a track runner system to fit underneath or inside both sides of the support rafters, so you'll need two.
It's important that we're able to attach rigid tubing, rods or strengthening supports securely to the sliding mechanism carriers that hang below the track from one side to the other (you can see these in the pre-made canopy shades above).
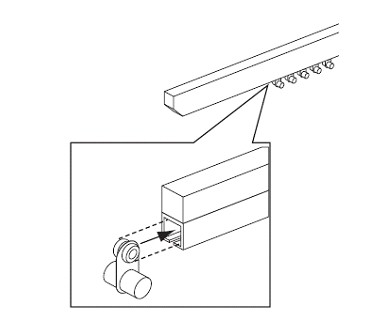
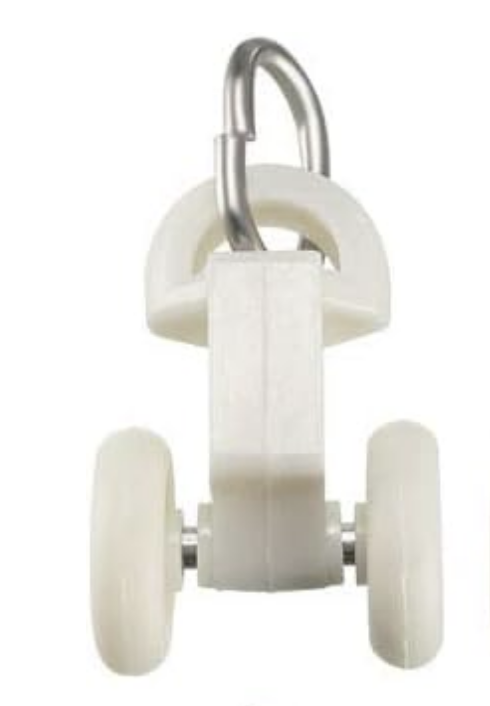
These are the type of hanging wheeled hooks you will need. You will need to make a channel of the correct size for the wheeled hooks to fit in. Plastic or wooden lengths will do.
Here are some examples to give you ideas.
For our canopy, we will attach the material to tubing to give it rigidity across the canopy width (they will need to be straightened first) and then attach these tubes, at right angles, to the tracks by hooking them through the eyes of the button carriers on one side of the pergola to the button carriers on the opposite side. They can also be attached with some sort of hoop or hook if the tube is too big for the carrier.
Alternatively, Simply use a wire as shown in the pre-made version, simply running the shades along the wires to extend the shade or retract it.
Here is the plastic tubing to go into the crossways pockets, and you can choose from an amazing array of waterproof fabric colours to use with it. If you can find rigid tubing that is light enough all the better.
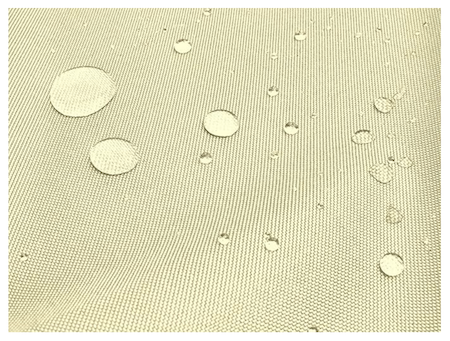
Either use shower-proof material, like the ones used in the pergola kits, or go for a water-proof fabric (I have chosen the one above as it is waterproof and comes in eleven different colours).
However, these canopies are only intended to be a protection against sun and light showers. The channels that the drooping fabric creates help to prevent water gathering on the canvas.
Creating The Canopy
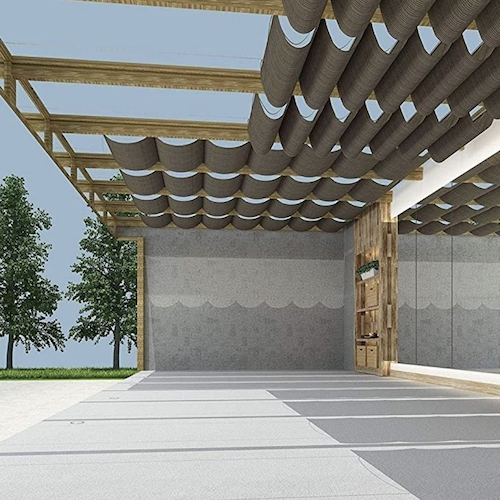
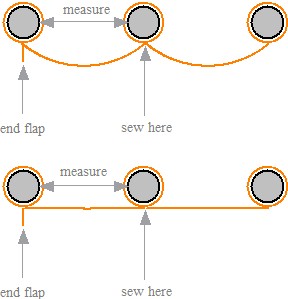
The diagram below shows the correct way to attach this type of canopy for a pergola. Notice how the fabric drapes between the poles.
We will need 4 to 12 rigid tubing or rod lengths (depending on the size of our pergola) that will neither bend or rust. These are passed through a looped circle that we've stitched into the canvas.
Space the materials hoops, through which we'll push the tubing, equally along the length of the fabric. Obviously we will need two of these rods at the ends, unless we're having a decorative panel (for example, a scalloped edge, like we sometimes see on blinds) at the ends, hanging down. Measure carefully to make sure the rod holders are equally spaced.
This is what our pergola canopy should look like when it is fully extended. Have a look at the pergola kit pictures below to get an idea of how the finished canopy should look.
The bottom diagram would stretch the fabric, making it lose its shape over time, and this would certainly happen if rain was left to weigh down the fabric.
Installing The Runners
The runners will be attached to either the underside of the rafter/beam or the inside of the supporting side rafter/beam.
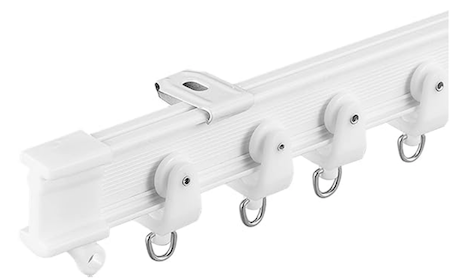
These are only an example of the type of runner you'll need. Find one that suits your pergola best, or use the hanging wheeled hooks and channels, as outlined above.
Powder coated aluminium is often used for outdoor furniture and lasts a lifetime due to the oxide layer on its surface, so this is a good option, along with sturdy plastic.
Waterproof fabric can be weighty, so make sure your runners are up to the job, especially for larger pergolas.
Underside Fitting
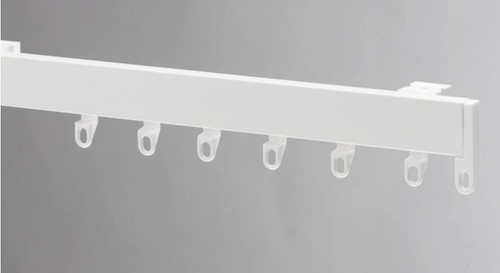
I've chosen these as an example, as they come in various lengths ranging from 3m (9ft 10") increasing to 7m (23'), although any non-rusting glider system, with button carriers, will do. Of course, you will be able to cut them down to exactly the correct length, if you wish.
Side Fitting
If you would prefer your runner to be attached to the side of your beam/rafter, you will need a runner that is usually attached flat against the wall, as this one is, here.
They come in different sizes, and there are other options, too.
Water is very heavy and, therefore, it is important to retract the canopy in heavier showers or when it's not in use, in order to prevent any weight of water damaging the canopy and mechanisms.
Use silicone lubricant spray to keep the sliding mechanism gliding freely.
Shade Sail Canopy for a Pergola
These can be very attractive, with a modern, sleek appearance, and act as a very effective canopy for a pergola.
Supplied as pre-manufactured kits, they are a convenient way to add an attractive feature to your garden quickly. Buy the sail with the attachment kit, and you'll be up and running in no time.
However, the smallest shade sails tend to be around 3m square. If your pergola is smaller, it's easy enough to make your own.
Do make sure that the supporting structure is strong enough to take the tension on the sails.
You will need:
- Some shower-proof or waterproof material. You may wish to have fabric that also has UV protection.
- Strong metal rings to fit onto the corners of the sail itself. these will attach to...
- 3 or 4 Pad Eyes, depending on whether your shade sail is triangular or rectangular. You will need a strong structure on which to attach these as the tensioning pressure is great.
- 3 or 4 Snap Hooks that join the metal rings attached to your shade sail to the supporting structure pad eyes.
- A tensioner.
Fixing kits contain all that you need to fix both triangular and square shade sails.
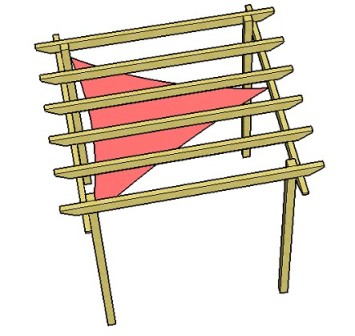
Here is a triangular shade sail canopy for a pergola...
...and here is a pergola kit with rectangular shade sails attached...
The shade sail must be positioned and tensioned so that there are no low spots where water can pool. This is why the sail is angled at different heights on each corner. The asymmetry is what gives the pergola a modern feel, and also protects the structure from excessive weight and deterioration by the weather.
Either use the metal fixing kit mentioned above, or alternatively use a strong hook, and make loops for the hook to pass over.
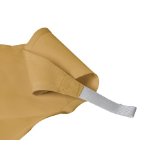 |
You may need something strong to lever the last loop over the hook in order to create the tension needed |
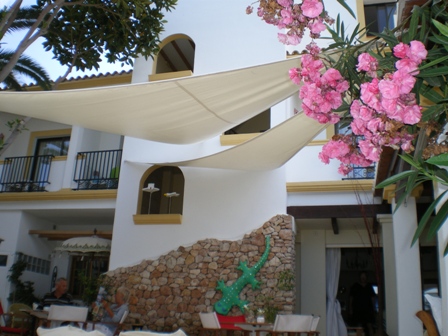
Large or small shades can look really stunning. These are very large ones in an hotel courtyard!
When not in use for long periods, you may prefer to take the shade sail down and store it carefully, where nibbling creatures are unable to gain access (they will eat your shade sail if you don't protect it!).
Alternatively, leave it up, and if it's tensioned and angled properly, it should last for many years.
Whichever way you choose to build a canopy for a pergola, I'm sure it will look amazing!
Advertising Links
This page may contain advertising links earning a small commission, at no extra cost to you. It is my hope these links will help you to make informed and creative choices.
Love Gardening! Ezine
Join the 'Love Gardening!' Ezine and receive garden and landscaping tips, exclusive voucher codes and updates to the website. More...
Recently Released
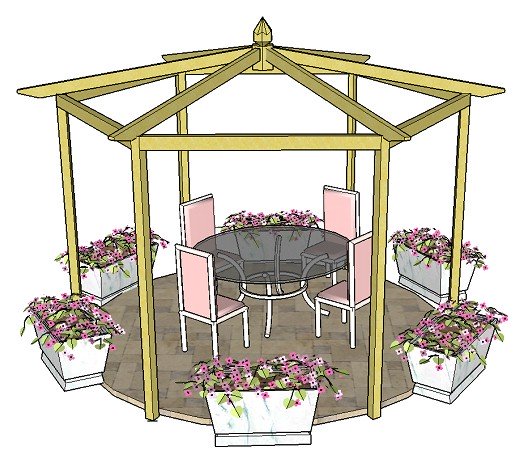
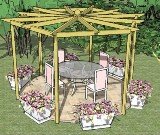
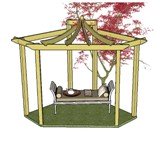
Pitched Roof Hexagonal Pergola
Other
Pergola Plans
Free Simple Pergola Plans
Attached Lean-to Pergola
Free Raised Bed Plans
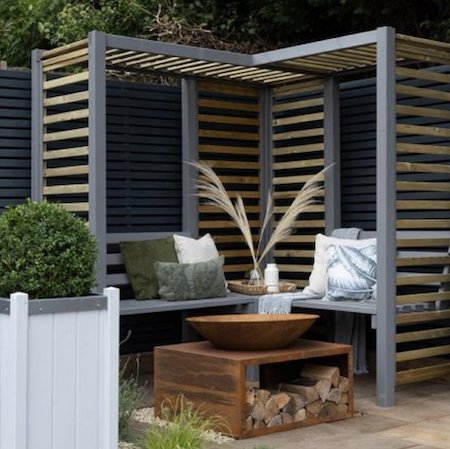
Corner Pergola
Hexagonal Pergola
Asian Pergola
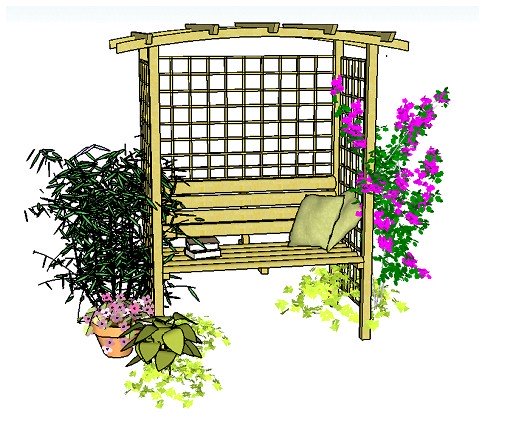
Seated Arbour
"The plans were great, very concise, easy to follow and I couldn't have managed without them!" T.
“Well done for a really useful site!” Mike.
Love the templates for the Rafter Tails! Using Design #5. Thanks so much." Laura.
"I love your website! Your entire site is incredible. I was able to get ideas for my pergola, which looks fantastic." Wayne.
Great service. Now all I have to do is build it! Martin.
"Your plans look amazingly comprehensive. I see you are intending putting the plans for the corner pergola on this fabulous site. Could you please tell me when the corner pergola plans will be available to purchase...yours is the nicest design I have seen!" Michelle.
Plants and Seed Offers
Pergola Kit and Accessories Offers


Sales & Offers
Beautiful 'Gainsborough' gazebo
Save £204!
See my 'Fantastic Offers' page for more bargains on pergola kits, tools and all things gardening!


