A Simple Landscaping Project on the Sly!
by Rob Lipparelli
(Japan)

A garden makeover project: laying the tiles.
Hello everyone, my name is Robert Lipparelli and I would like to share a very simple project with you; the idea being to show you that simple can sometimes be very elegant, and it doesn't have to cost the earth. The work was completed in 1 day and the majority of the work I did by myself. Hopefully my story and explanation will inspire you to try some similar ideas of your own..
We had just rebuilt our home. Here in Japan, houses are made of wood, and last about 25 years. The builders had gone well over budget and then wanted a 5 figure plus sum to make the front garden. I politely said no thank you - actually my reply was a lot fruitier than that, but that's another story.
I said to my wife, 'Leave it to me. I will think of something'. It was about a week later when she turned to me and said, 'The weather is supposed to be nice tomorrow, why not start on the garden?' (Which any guy will know means to get off my big bum and start doing something about it!)
Unknown to her, the cogs had already been turning. An avid gardener friend told me we had a rare plant in our garden and I thought it would be good to use that in some sort of central display. The next morning when my wife went to work, I called a neighbour and asked if he could help me move a plant. A 'slap up' breakfast was offered as payment, but not today.
That night it started to rain, so I collected my wife from the station. She asked me how my day had been, expecting me to say I had been busy in the garden but I said my back had been hurting, so I just took it easy. You could have cut the atmosphere with a knife. The rest of the journey home was in silence.
We have a back entrance to the house, and as it was wet I suggested entering this way... Whilst eating our dinner a neighbour popped over to visit and said the garden looked lovely. My wife had no idea what the neighbour was talking about until she went outside to have a look. Her jaw just dropped in amazement.
I didn't have the time that day to do it properly, so as a makeshift plan, I set up an extension cord with a light fitting so she could see it all lit up. She couldn't believe that someone with my minimal garden skills had done this! She was even more shocked when I told her I had 'recycled' bits from the garden and it had cost less than a tenner(for the knife). And the best part, she didn't mind when I told her she would be cooking breakfast for John on Sunday.
She called her mother and father and told them to come over quickly, without saying why. Getting the seal of approval from the mother in law was the icing on the cake.
My wife didn't let me get much sleep that night, but sadly only because she was so pleased and kept going outside to have a look!
So, this is how I did it!
It is a good idea to first draw what you want your project to look like. Even though I'm no Da Vinci, I made many sketches, but the final design actually came to me whilst laying the tiles in the positions I had sketched.
The centerpiece can be anything you want. A plant / tree / statue / fountain; the list is endless. This was the only time I needed help; transferring the plant from the middle of the garden to the front of our deck (thanks John!). If you do move a plant or a bush, remember to dig wide and deep enough to avoid damaging the roots of the plant.
Once the plant was re-positioned, additional mud was added to the base and a wall formed. The next few hours were spent placing the tiles around the plant and then taking photos of each design to compare which would look the best.
The tiles were quiet heavy, so an idea here may be to cut (X amount) sheets of paper in the same shape as the tiles you will use and then keep them in place with a small pebble. Get those creative juices flowing, let your imagination run wild here. You can design it like a chess board/ a maze/a star shape, the British flag, anything you want.
To get the spiral design, I started from the side closest to the deck and slowly worked my way out and around. It may take a few tries before you get it the way you want. An idea here is to stand on a ladder or chair to get a birds eye view of the spiral.
There was no real measuring involved, but I did use 2 pieces of wood just to make sure the tiles weren't too far apart. One for the inner/ one for the outer distance between each tile. It may be better to do this after laying each tile, because if you finish the spiral then need to move 1 tile, its probably safe to say you will need to move them all. However, it is easy to see the curve of the tiles and so you can adjust accordingly.
Once I was happy with the position of the tiles, starting from the beginning again, I marked around each tile, gently raised the tile and then placed about 1 cm of sand within the marked boundary.I Placed the tile back on top and pressed firmly down. Any wobble was corrected with more sand.
The next step was to lay the grass. I had cut grass from a corner in the garden that isn't really used, but you can buy pre cut grass at a garden center. All you need here is a strong knife to cut the grass into shapes to fit into the gaps between the tiles. Its important to leave a little gap(1cm) between the tiles and grass, as the grass is alive and will grow, and in about 3-4 weeks time, you wont see any of the cuts/joints any more.
Depending on your design, you may need to make a border.
My design is simple but you can have a border of flower pots, you can make it as a meeting point in the garden, you can put chairs and tables in the center, the possibilities are endless.
For some, making it may be even simpler. In front of the deck, we have no grass, but for some people it may be as simple as cutting out the center of a patch of grass for the centerpiece and placing the tiles on top of the grass or cutting around each tile and laying them in the grass. If you are raising the level of the mud, the grass cut from the center can be used around the edges to give that walled effect. The center was originally filled with all-weather stones, but over time we have gradually replaced them with other plants.
So, apart from a good knife for cutting, there really no need for any other tools. Naturally, depending on your design, some sort of measuring tool might be advisable though....a square shaped display will need some sort of right angled instrument.
Except for watering and the occasional haircut, there isn't any real maintenance required. When it was first built, if I was in the garden, people would stop and comment on how nice it looked. That really gave me buzz. A few even took pictures, and that did the ego a world of good.
So, if you have a weekend free but are a bit of a couch potato, put the video recorder on and give it a crack! Maybe get the whole family to help. It really is simple; and with others helping you could very quickly be admiring the fruits of your labour.
The sense of achievement will inspire you to create other things. Be warned though, my wife was so pleased, she now wants me to start another project, and so I am going to build a pergola in the center of the garden.
I found some great designs on this site. There are hundreds of sites available for those who want to build a pergola, but the thing that convinced me to use Di's plans for my next project was they were so straightforward and easy to follow for complete beginners like me. Not only that, even though I hadn't made a purchase, she was more than happy to guide me through any queries I had. So come end of May, the saga continues and I will post some pictures when it is completed!
If you have any questions about my spiral garden makeover, please feel free to drop me an email on rlipparelli1@hotmail.com
Comments for A Simple Landscaping Project on the Sly!
|
||
|
||
|
||
Advertising Links
This page may contain advertising links earning a small commission, at no extra cost to you. It is my hope these links will help you to make informed and creative choices.
Love Gardening! Ezine
Join the 'Love Gardening!' Ezine and receive garden and landscaping tips, exclusive voucher codes and updates to the website. More...
Recently Released
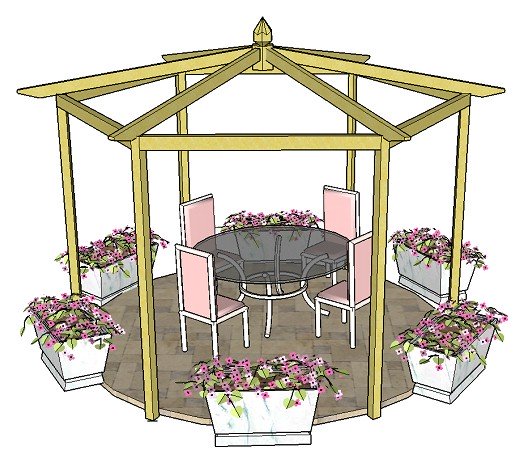
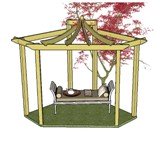
Pitched Roof Hexagonal Pergola
Other
Pergola Plans
Free Simple Pergola Plans
Attached Lean-to Pergola
Free Raised Bed Plans
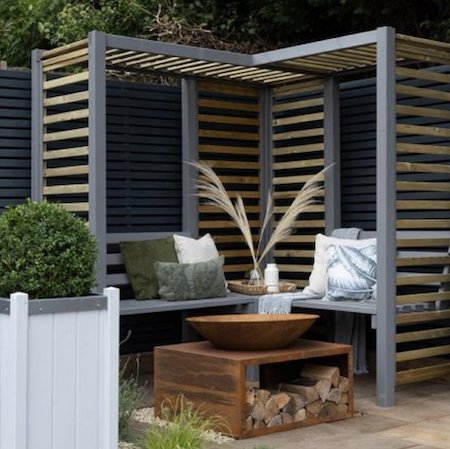
Corner Pergola
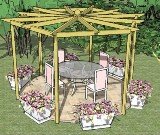
Hexagonal Pergola
Asian Pergola
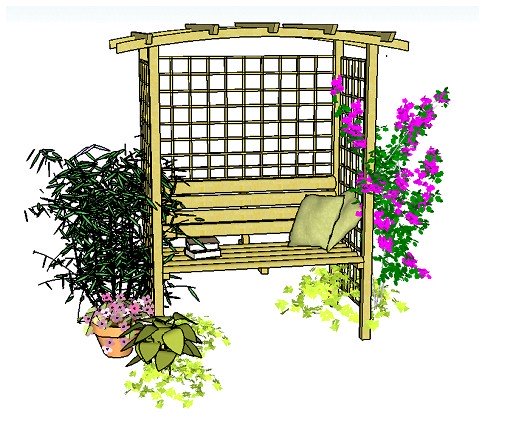
Seated Arbour
"The plans were great, very concise, easy to follow and I couldn't have managed without them!" T.
“Well done for a really useful site!” Mike.
Love the templates for the Rafter Tails! Using Design #5. Thanks so much." Laura.
"I love your website! Your entire site is incredible. I was able to get ideas for my pergola, which looks fantastic." Wayne.
Great service. Now all I have to do is build it! Martin.
"Your plans look amazingly comprehensive. I see you are intending putting the plans for the corner pergola on this fabulous site. Could you please tell me when the corner pergola plans will be available to purchase...yours is the nicest design I have seen!" Michelle.
Plants and Seed Offers
Pergola Kit and Accessories Offers
£340 off
£79!


Sales & Offers
Beautiful 'Gainsborough' gazebo
Save £204!
See my 'Fantastic Offers' page for more bargains on pergola kits, tools and all things gardening!


