A Rose Arch for the Mother-In-Law!
by Rob Lipparelli
(Japan)
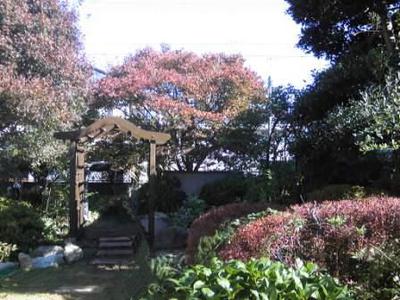
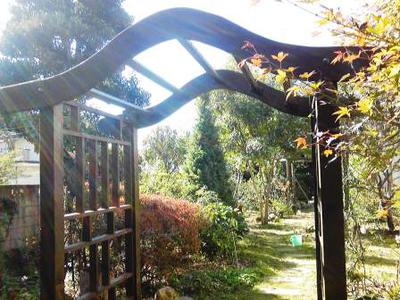
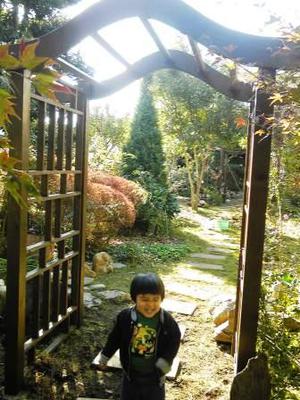
Curved Rafter Rose Arch
Hello All,
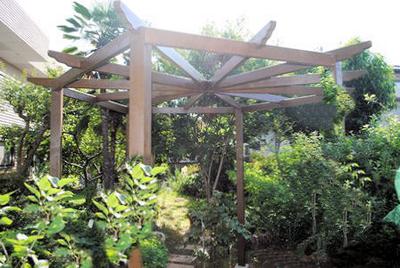
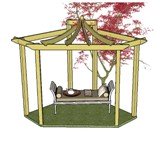
My name's Rob and I would like to share with you a garden project I just recently finished. Having completed building the Hexagonal Pergola last summer using the plans on this website, my mother in law asked if I could create something special for her side of the garden. We have a large garden with 2 houses built on it, and the immediate thing that came to mind was to make something similar to the Berlin Wall...if only...!
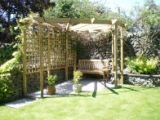
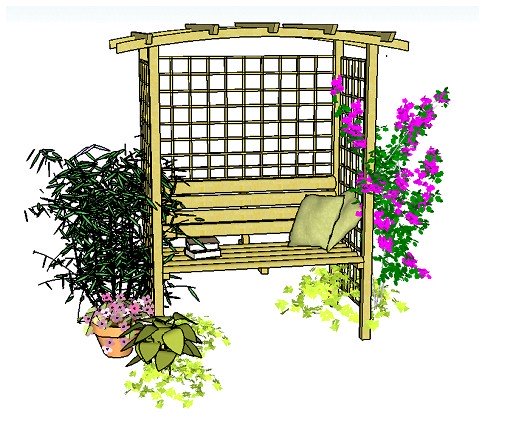
So, I needed it to look good, and at the same time be compatible with the pergola. I decided to build a rose arch, and having decided on locating it near the main gate, where we have many roses, (well of course-duh!) I then set about what to create. I looked at many many designs of arches/arbours on the net, and in the end decided to plagiarize 2 designs and incorporate them into one...
As before, I bought 4 x 4 3m long treated timbers for the four pillars and then treated them again to match the same colour as the pergola....The position I chose to build on was on a very small gradient, which isn't probably noticeable, but I will explain how I overcame that a bit later.
Having placed the first post,and it setting in the concrete, I then used a piece of wood as wide as the side panel to measure where the next post would be placed. Once dug, I clamped the side panel to post number 1 and attached wood under the panel at the other end to distribute the weight and to make sure it was aligned. Allow for about 2cm of clearance from the ground, so the wood at the base of the panel doesn't deteriorate from the rain ...Then I screwed the panel to post number 1. After that, I was able to place post number 2 in the hole and align it so the panel would be a perfect tight fit; I then added the concrete to post hole number 2. Worth mentioning here, you need to factor in the post being central in the hole. Repeat for the opposite side; as the holes weren't exactly identical in depth, I placed a piece of thin wood spanning across each panel and used 2 levels to ensure the panels were evenly aligned. So even though the side panels are level to each other, the posts differed in height..
The side panels were made in a day.. Rather than drilling holes in the main posts on the outside coming in, I decided to build the side panel first, then attach that to the posts. I used 2 slim pieces of wood, 2' by 1'. Starting from the bottom and working up, I 'stacked' up the panel using wood of the same thickness, screwing under the pieces of wood, whenever possible to limit any screws showing. Once the panel had been made, that was attached to the posts, again minimizing the amount of screws showing. For the roof- this was probabaly the most laborious. Making a flat top would have been quick and easy, but I wanted something special.
I bought a piece of hardboard and a flexible strip of metal. Starting from my planned center, I measured points on the hardboard for my curve, and put nails into the board. I then measured again , 7 inches lower than the first markings and marked the points with nails again..I wrapped the metal around the the first set of markings and drew a pencil line, then repeated for the lower markings. Using a jigsaw, I cut out the shape, with the upturned ends...There was my template.
The problem was making the curve, I felt using a 'dowel' joint wouldnt be strong enough( we have many typhoons here in Japan) so I doubled up on the thickness of the curve. I used 2 times 1x 8 wood and cut to the shape of the template, with some overlap. The first layer was cut into 5 pieces and the second into 7 pieces, so they would overlap and I could glue and screw them together, hopefully making it strong and sturdy enough. Both were then screwed into the hardboard template. The overlap was then cut, and finally sanded down until the template and both curves were as one. The template was removed, and the joint holes filled in..I then used a wood filler wherever needed to fill any gaps remaining between the 2 curves..This whole process was then repeated for the timber that would be used for the other side.
Once it was decided how high the M.I.L wanted the arched roof, I clamped it onto the posts, and using a long drill bit(16cm) screwed through arch and post...At the opposite end the same was repeated, and to make sure both arches were level, I placed and clamped 2 pieces of wood across the bottom of the first timber at each end and using levels, lined up the opposite end timber them. When finished, each post had a little bit of surplus wood, maybe a cm or 2 difference in length sticking over the top. This was very easily cut off and the top of the post was then re-treated to protect it from the elements.
For the center roof beams (left to right), I used a slightly thicker wood at each end, cut into a small rectangle and sanded down the edges, then screwed it to the beam, (one screw), then screwed it onto the arch, (2 screws). The center beam should already be pretty much in place, but I used a level on the beam to make sure when the opposite end of the center beam is screwed onto the arch, it would all be level...
Have yet to put the finishing touches to the arch, covering the screw holes,and sanding down the wood joints but had to get it up quick so mother in law could start spreading her prized rose bush across it.
Took just over a week, mainly due to the arches, but Mother In Law is happy and despite some horrendous weather, its still standing....!!
Thank you for reading.
Take care,
Rob.
Advertising Links
This page may contain advertising links earning a small commission, at no extra cost to you. It is my hope these links will help you to make informed and creative choices.
Love Gardening! Ezine
Join the 'Love Gardening!' Ezine and receive garden and landscaping tips, exclusive voucher codes and updates to the website. More...
Recently Released
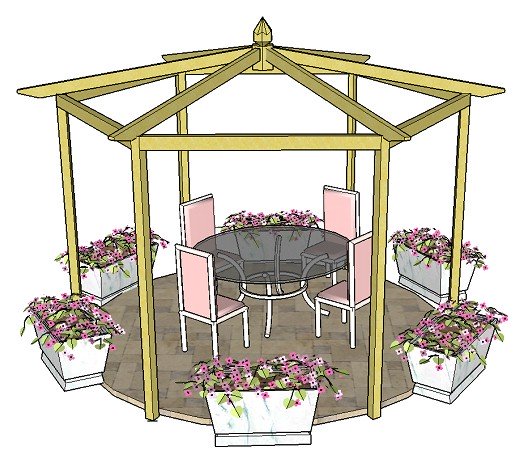
Pitched Roof Hexagonal Pergola
Other
Pergola Plans
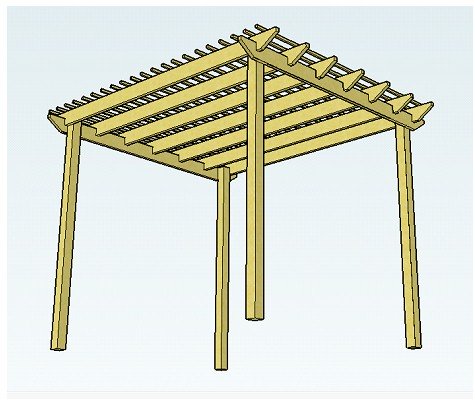
Free Simple Pergola Plans
Attached Lean-to Pergola
Free Raised Bed Plans
Corner Pergola
Hexagonal Pergola
Asian Pergola
Seated Arbour
"The plans were great, very concise, easy to follow and I couldn't have managed without them!" T.
“Well done for a really useful site!” Mike.
Love the templates for the Rafter Tails! Using Design #5. Thanks so much." Laura.
"I love your website! Your entire site is incredible. I was able to get ideas for my pergola, which looks fantastic." Wayne.
Great service. Now all I have to do is build it! Martin.
"Your plans look amazingly comprehensive. I see you are intending putting the plans for the corner pergola on this fabulous site. Could you please tell me when the corner pergola plans will be available to purchase...yours is the nicest design I have seen!" Michelle.
Plants and Seed Offers
Pergola Kit and Accessories Offers


Sales & Offers
Beautiful 'Gainsborough' gazebo
Save £204!
See my 'Fantastic Offers' page for more bargains on pergola kits, tools and all things gardening!
